Architects, developers, and marketing teams increasingly rely on site-accurate aerials to support design validation and produce persuasive CGI. When planned properly, real estate drone photography gives your visualisation partner clean textures, true context, and cinematic establishing shots that can shorten iterations and support stronger marketing assets. This guide explains how GENENSE integrates aerial capture into exterior and masterplan rendering, photomontage for planning, and launch campaigns – so your next commission translates field data into photorealistic, on‑brand output without surprises.
Why aerial capture matters for CGI
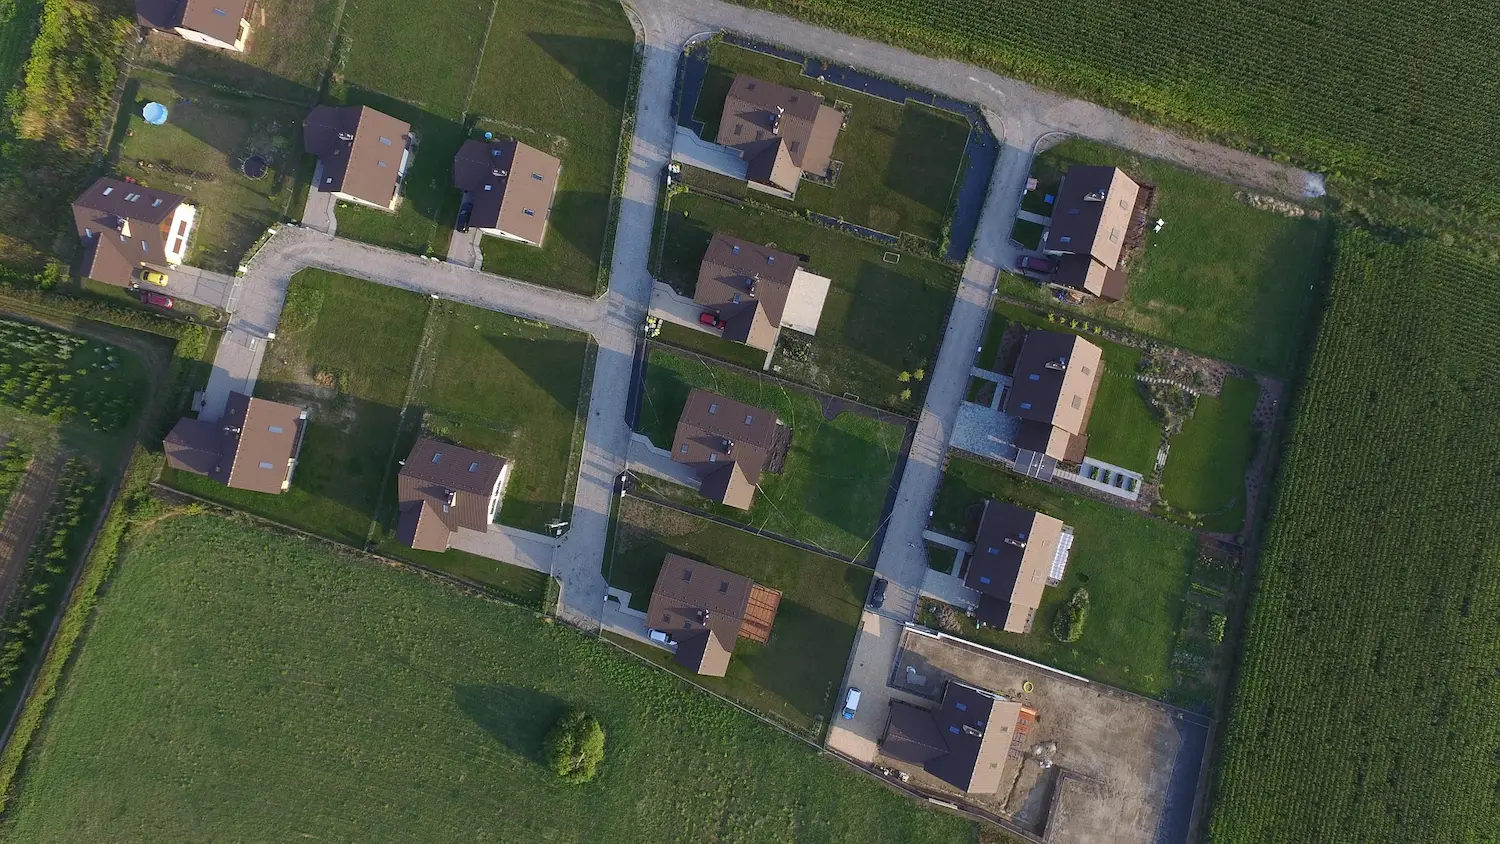
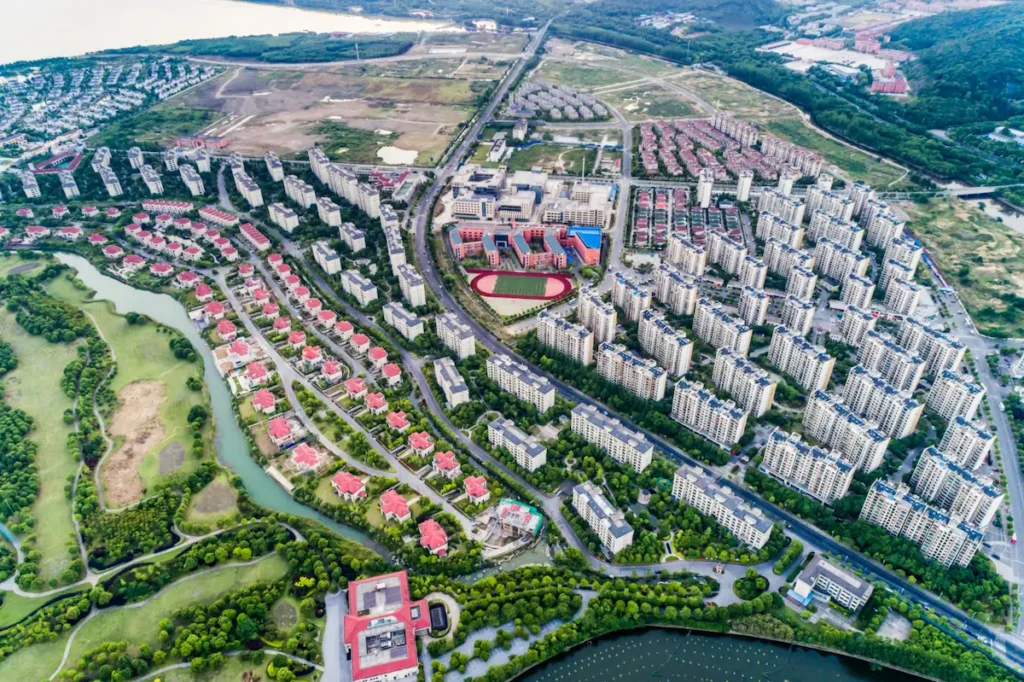
Aerial inputs do three jobs remarkably well. First, they can provide site-accurate context for exterior visualisation and photomontage when captured and referenced correctly. Second, they supply high‑resolution textures for roofs, hardscape, and landscape that are difficult or impractical to obtain from the ground. Third, they create editorial establishing moments – both stills and drone footage for real estate – that set the narrative for launch trailers and micro‑sites.
For early-stage concept studies, oblique aerial views help massing and overshadowing analysis read intuitively for non-technical stakeholders. For planning images, being tied to ground control or RTK positioning can make camera solves more predictable and easier to justify when supported by proper documentation. For pre‑sales, aerial exteriors, animated fly‑arounds, and short‑form edits derived from commercial real estate drone video give marketing teams the latitude to cut multiple variants per channel.
GENENSE folds aerial inputs into several pipelines:
3D exterior visualisation: camera‑matched stills with day/night and seasonal variants.
Architectural photomontage: verified views for planning committees, with documented camera positions.
Architectural animation: hybrid edits that blend CG assets with real estate aerial videography.
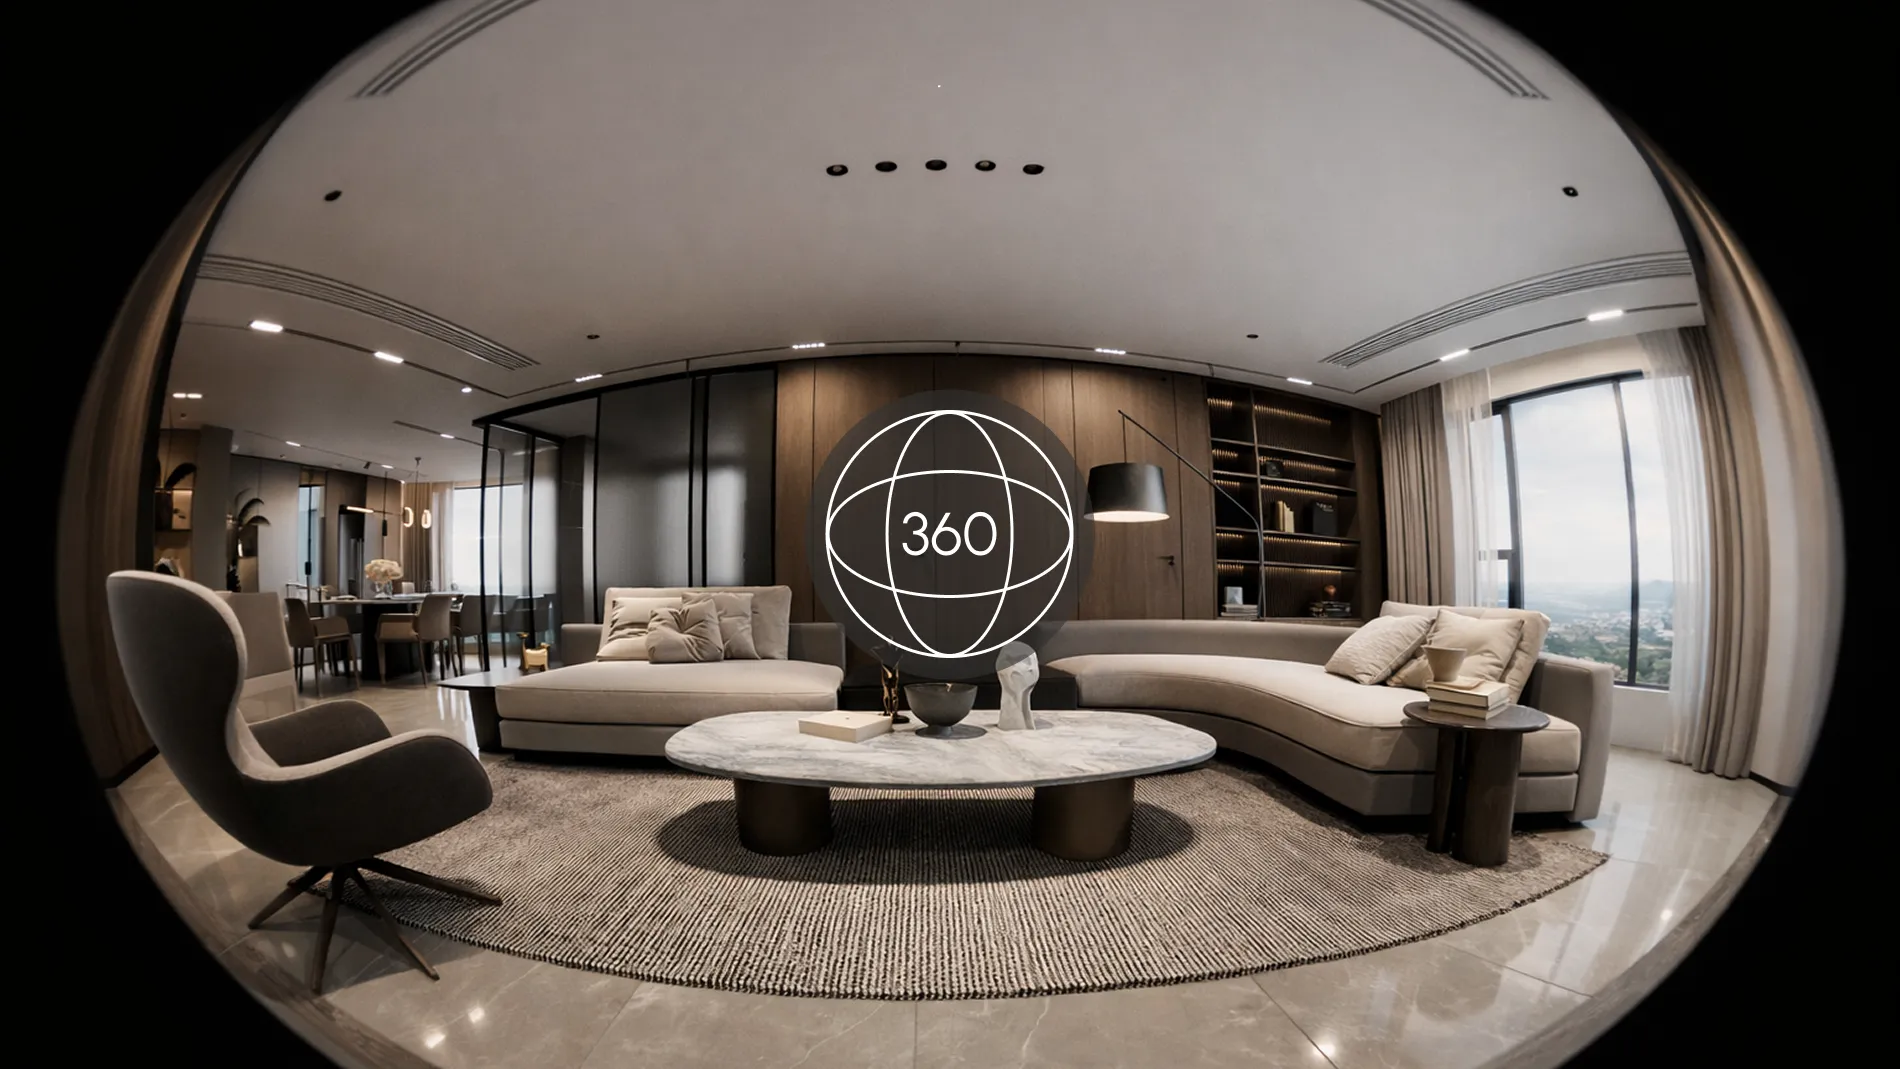
3D virtual tours: pano‑based transitions that jump from sky to street to interior.
What to deliver after the flight
A good capture is only half the story. The files you hand over determine how smoothly we can move from field to frame. For stills, supply RAW (DNG/RAW) files, with 16-bit TIFF or linear EXR exports where specifically required by the CGI pipeline. Bracketed exposures at 2-3 EV steps help when façades sit under hard contrast. For mapping or photogrammetry support, include flight logs, image centre coordinates, and overlap details. For video, 10‑bit Log footage at the highest available bitrate (with a matching LUT or camera profile notes) keeps skies and glass under control in grade. If you captured hyperlapses or timelapses, keep the original image sequence; don’t bake stabilisation into an H.264 proxy.
We also value metadata such as compass heading and camera height above take-off, recognising that these complement – not replace – visual camera solving. These details can support solving and photomatching when combined with visual reference and matchmove.
Flight planning essentials for design teams
A successful aerial session starts with a design‑first brief. We recommend three layers of planning: permissions and safety, light and weather, and a shot list built around the final CGI deliverables.
Permissions, safety, and compliance
For US projects, flights typically fall under FAA Part 107 when conducted as commercial drone photography. Similar rules apply internationally under local authorities. Coordinate access permissions with property owners, review airspace advisories and any relevant NOTAMs where applicable to the operation. If you intend to support verified photomontage, pre‑measure camera stations from public footways or approved take‑off points, and record coordinates. Treat “people and property not under the control of the operator” as non‑negotiable safety constraints. If your team is new to operations, hire a vetted operator; “best practice” in professional drone photography is as much about disciplined risk assessment as it is about beautiful images. None of this is legal advice – always follow your jurisdiction’s rules.
Light, weather, and repeatability
Schedule blue-sky exteriors close to local solar noon to reduce façade contrast, adjusting for orientation, latitude, and surrounding context. For softer light, aim for early morning or late afternoon, and repeat at the same time if you’ll capture over multiple days – consistency matters once we begin CG compositing. Check wind: gimbals cope admirably, but long‑lens obliques need calmer conditions. When we plan animated sequences, we also mark the sun path so the CG sun direction and shadows match your aerial plates.
Shot list aligned to CGI outcomes
Start from use: are you commissioning hero stills, a planning photomontage, or a mixed edit with drone footage for real estate? For photomontage, establish exact camera stations (height and heading) from which we will render. For marketing, define a narrative spine – arrival, reveal, amenity, neighbourhood – so we capture continuous manoeuvres rather than disconnected clips. If interiors will be showcased, plan transitions where the external path naturally “finds” an entry or a terrace. This makes our animation and editorial flow believable.
Choosing the platform: finding the best balance
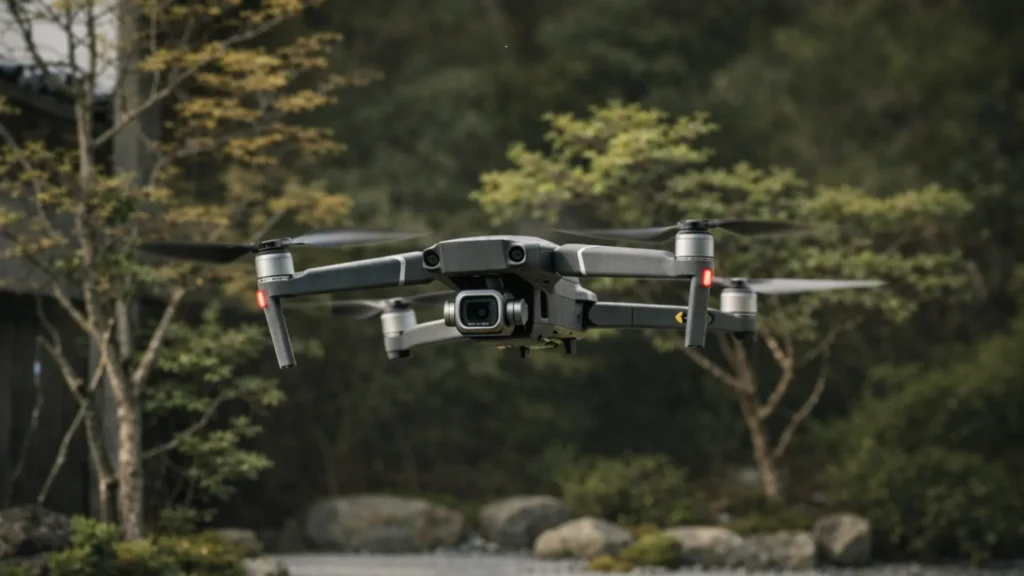
The “best” tool is the one that meets visual requirements while staying compliant and practical on-site. Instead of defaulting to the largest rig, choose based on sensor, optics, shutter, and positioning accuracy.
The best drone for real estate photography is about the sensor and optics
A 1‑inch (or larger) sensor with a fast, well‑corrected lens yields cleaner roof textures and crisper brick courses. A mechanical shutter – or, to a lesser extent, a fast-readout stacked sensor – helps reduce rolling-shutter skew on oblique stills, important when we align façades in CG. We prefer native 24-35 mm equivalent focal lengths for general coverage, with occasional 70-90 mm equivalents for detail panels. If your platform supports it, capture DNG with consistent white balance and disable aggressive noise reduction.
The best budget drone for real estate photography balances output and compliance
Sub‑250 g airframes can be the right choice near sensitive areas, even if the dynamic range is a touch lower. For many briefs, the gap is negligible when you bracket exposures and fly carefully. Think in terms of total value: if a lighter platform lets you legally and safely capture the exact angle needed for photomontage, it is the “best budget” decision. That’s how we approach trade‑offs during scoping.
The best drone for real estate videos handles 10‑bit Log and stable 4K/5K
For real estate aerial videography, prioritise 10‑bit Log profiles, 4:2:2 recording if available, robust bitrates, and dependable subject tracking that doesn’t hunt. Neutral density filters are often used to approximate a 180-degree shutter rule for natural motion blur; otherwise, pans and reveals strobe, making CG composites feel less seamless.
Practical notes for drones for real estate photography
Confirm whether RTK is required. For planning‑grade camera matching, RTK reduces position error and can streamline alignment in matchmove workflows when combined with visual references.
Calibrate the compass and IMU on site, especially if you’ll fly multiple batteries; heading errors complicate photomontage alignment.
Keep profiles consistent across sorties. For example, fly all Log at the same ISO and sharpness; mixed settings create avoidable grading work.
Capture techniques that translate well to CGI
Stills: Nadir, oblique, pano–each has a purpose
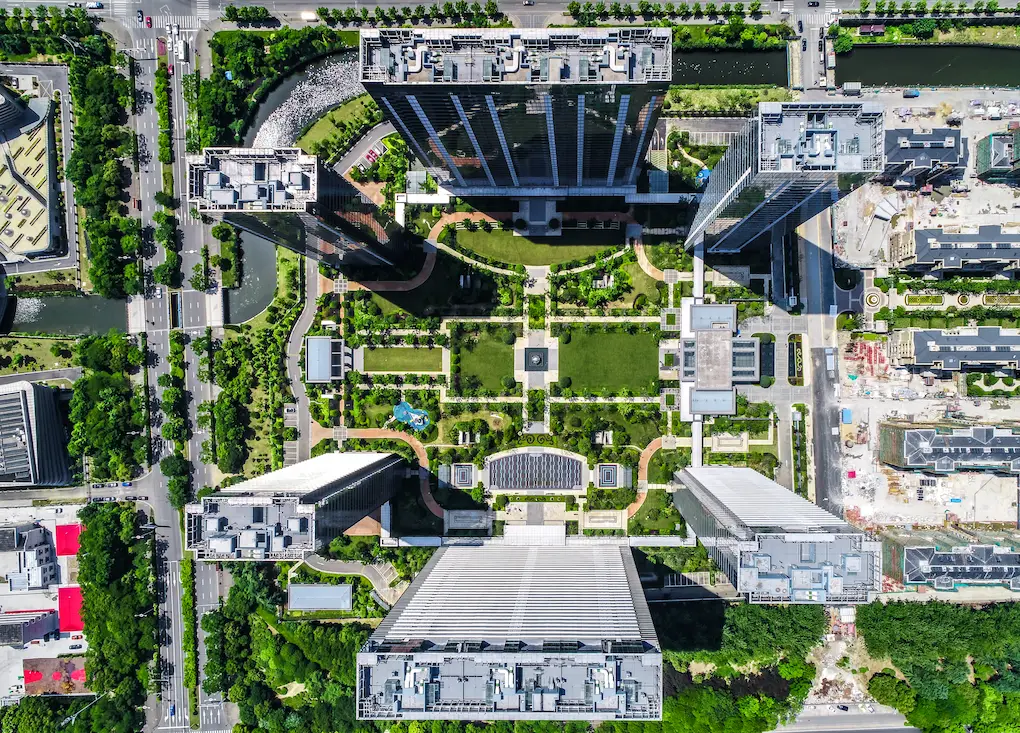
Nadir grids are excellent for context maps and simple orthos; 70-80% overlap gives us options for photogrammetric support if needed. Oblique passes at 30-45 degrees capture façades with readable depth, which is where texture extraction excels. For pano spheres, lock exposure and manual stitch later from the RAWs – auto‑stitched JPEGs often bake in seams that limit our control.
Video moves for real estate aerial videography
We design manoeuvres to match editorial beats: slow orbits for contemplation, push‑ins for approach, boomerangs and reveals for amenities. Fly longer than you think – 10-15 seconds per move – so the edit can breathe. When we composite CG, stable, predictable movement lets us place the asset convincingly. That is why drone footage for real estate should prioritise smoothness and repeatable paths over flashy speed.
Consistency is everything
If you plan multiple revisits, record a simple move sheet: altitude, groundspeed, gimbal tilt, and heading. Repeating these parameters across days means our CG shadows and reflections won’t fight between shots.
A single, practical pre‑flight checklist
To help teams that don’t fly daily, here is the minimum we recommend before sending a rig skyward.
Permissions and notices: airspace checked, site access confirmed, neighbours informed for commercial drone photography.
Weather and light: wind under platform limits, sun path noted, contingency window agreed.
Camera and profile: RAW stills enabled, 10‑bit Log for video, ND set for target shutter, white balance locked.
Positioning and safety: RTK connected if required, home point confirmed, battery health verified, observer briefed.
Shot list: hero stills, photomontage stations, and real estate aerial videography sequences prioritised and ordered.
Handover plan: file structure, naming, and delivery link prepared so the editor and CG team can begin the same day.
Data management, naming, and handover
A tidy ingest eliminates hours of detective work later. We encourage a structure such as ProjectCodeSiteDateCameraMove, with stills grouped by station and bracket (e.g., “STN03EVB20001-0005”). For video, slate cards at the lens with the planned move name; this ensures the editorial team instantly maps clips to the storyboard. Provide a read‑me that lists lenses, filters, picture profiles, any in‑camera noise/sharpening settings, and whether stabilisation is applied. Keep originals intact; supply separate graded proxies if you need fast stakeholder reviews while our CG progresses.
Costing and ROI for aerial capture
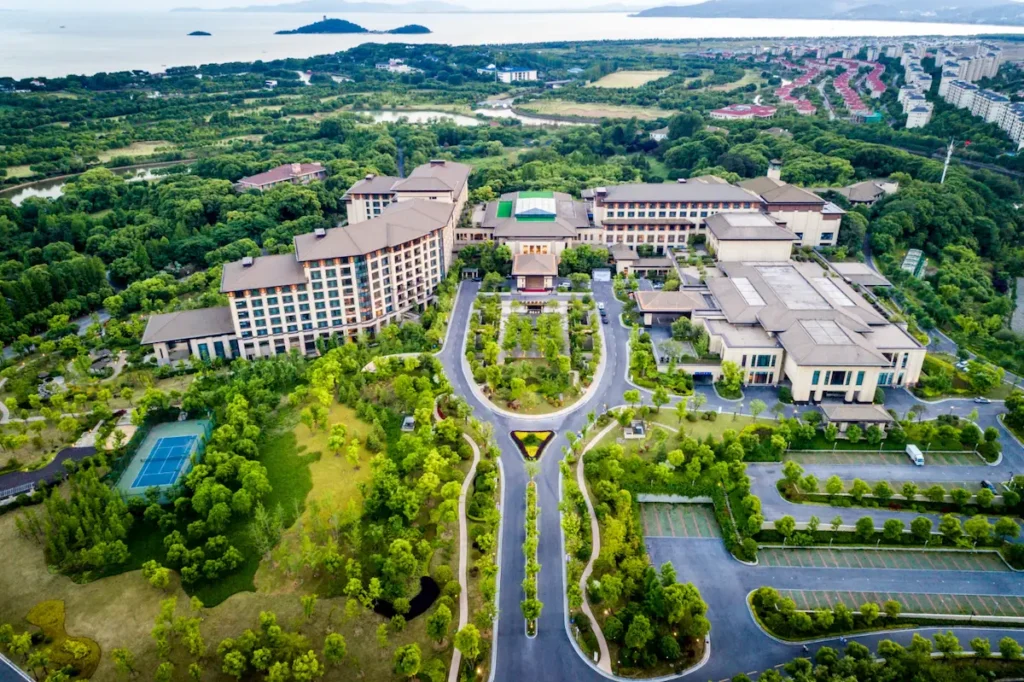
Treat aerials as part of the visualisation budget, not an isolated line item. The commercial cost of a small‑crew half‑day, including operator, observer, insurance, and post ingest, is typically modest compared with the total rendering and media package. Where we often see strong ROI is in reduced re-shoot risk and fewer CG revisions on complex projects. A single well‑planned flight that captures hero stills, photomontage stations, and B‑roll for commercial real estate drone video can support months of content – from planning packs to launch teasers – without returning to site. For agents and realtors, the business logic is simple: tailored aerials lower your cost‑per‑asset while raising perceived value. With the right camera on the right platform, you get versatile pictures and video that serve the property through design and marketing.
Case study scenario: one flight, multiple outputs
Imagine a 25‑storey residential tower at an urban junction. The developer needs three verified planning views, one hero dusk exterior, and a 30‑second teaser combining live action with CG. We schedule a two‑window day: solar noon for clean façades and blue hour for mood. The pilot captures:
Three fixed stations for photomontage at pre‑measured heights and headings.
A slow 120‑metre orbit for skyline context.
Two push‑ins towards the corner entrance for the teaser.
A set of oblique stills at 30 degrees to feed the roof and hardscape texturing.
Back at the studio, we solve cameras using RTK metadata, place the tower model, and render AOVs tuned to the plate grade. In parallel, the editorial builds the teaser from the drone footage for real estate, adding CG lights and animated signage. The same session also yields pano backplates for a landing page, proving how a single, well‑briefed flight can sustain a full content stack.
Pitfalls to avoid
The most common issue is inconsistent exposure. If auto exposure shifts mid‑move, CG reflections and sky replacements become time‑consuming. Always lock exposure, white balance, and ISO for sequences. The second is rolling‑shutter skew on fast obliques; either choose a platform with a mechanical shutter for stills or slow the manoeuvre. Third, missing metadata – especially station height and heading – adds avoidable friction to photomontage. Finally, mismatched colour pipelines (mixing baked Rec. 709 with Log) complicate conform and grading. Decide once and stick to it.
FAQ
When you are producing imagery for business use—planning submissions, presales, or brand campaigns—you’re in a regulated environment with obligations for pilot certification, insurance, and operational risk assessment. Professional capture also follows repeatable profiles and documentation, so CG pipelines can rely on it. That’s the fundamental difference between “nice angles” and production‑grade inputs for rendering.
Focus on deliverables. If you need planning‑grade photomontage, ask for RTK positioning and a mechanical shutter for stills. If you need a cinematic edit, specify 10‑bit Log, 4:2:2 recording where available, and ND support. If access is constrained, the best budget drone for real estate photography may be a compact, sub‑250 g rig that can be flown legally where larger airframes cannot. The “best” choice is the one that meets the brief, not the biggest spec sheet.
Predictable, stable moves with locked exposure at a consistent profile. Avoid abrupt speed changes and keep manoeuvres long enough to cut. Provide original, unstabilised files and a note of speed, altitude, and gimbal tilt so we can recreate motion when needed.
Yes. Share a sample set and the camera notes; we’ll assess exposure latitude, sharpness, and metadata. If we see gaps—missing stations for photomontage or inconsistent profiles—we’ll propose a targeted top‑up flight rather than a full re‑shoot.
If you are planning a site flight for upcoming exteriors, or you want to turn existing drone footage for real estate into a photorealistic animation, schedule a brief with GENENSE. We will map capture to deliverables, optimise the budget, and deliver imagery you can deploy immediately across planning, leasing, and launch.
Rate article:
Nice
Average rating: 5 / 5
Vote count: 1
Denys Borozenets
CEO at GENENSE
Denys is the CEO of GENENSE Studio. His mission is to build an international community of passionate CGI professionals, where everyone can unlock their potential by creating high-end digital content that helps highlight any product on the global stage.
As a leader, he holds himself to the highest standard of responsibility - for both his own work and that of his team. For the members of GENENSE, responsiveness and open communication are the core values that drive their collective success.
Why lighting is the difference between images that inform and images that sell On any design project, light is the medium that reveals form, color, and texture – and the variable that most directly shapes client perception. At GENENSE, we treat illumination as a controlled experiment rather than a cosmetic tweak. Remember that lighting strongly […]
The success of real estate sales is strongly influenced by how a building is presented to potential buyers. 3D walkthrough animation and architectural flythrough are effective tools for remotely showcasing the advantages of a house. New development projects emerge daily, and both the primary and secondary markets are filled with new offers. Through high-quality architectural […]
In construction, a portfolio is primarily evaluated on credibility and risk reduction, supported by evidence of capability, process, and past performance. The right selection of case studies, drawings, schedules, and visuals helps a client or lender assess whether you have previously delivered consistent outcomes on complex programs. A well-built construction project portfolio clarifies scope, shows […]
Architectural rendering is a type of 3D visualization that helps you effectively showcase a property to the public. According to analysts at VerifiedMarketResearch, the market for these services is actively growing and is expected to reach a value of $9.4 billion by 2028. This growth reflects increasing adoption of architectural visualization across planning, marketing, and […]
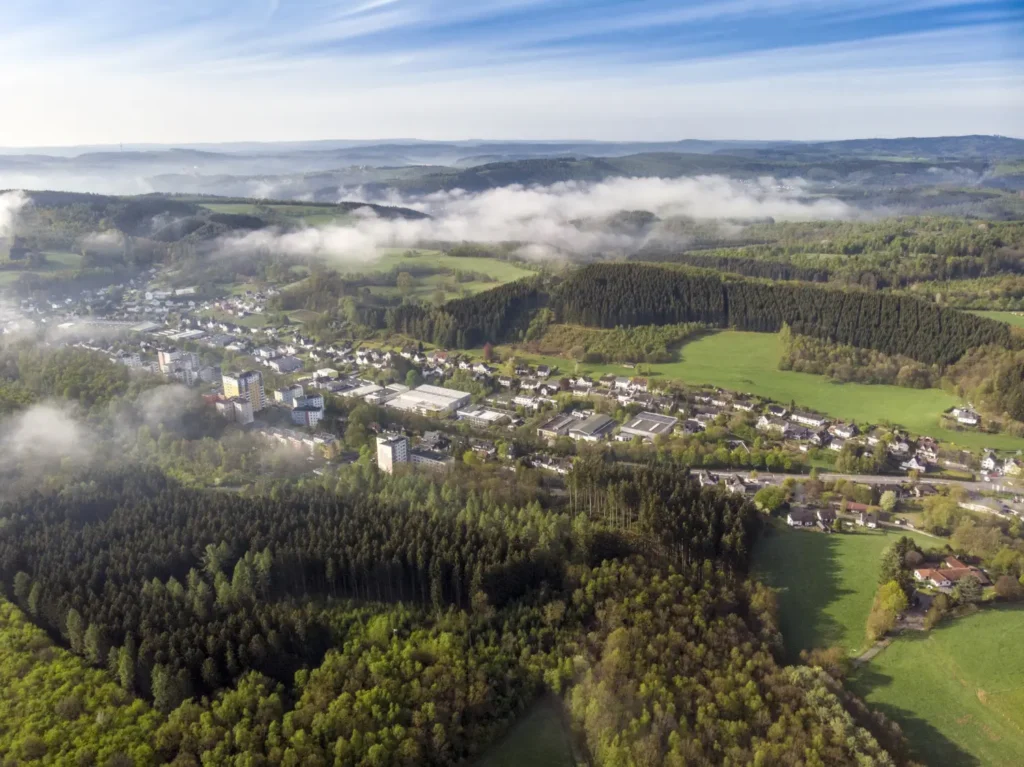
Whether you are shaping a master plan, communicating a complex site to non-technical stakeholders, or launching a pre-sales campaign, the elevated vantage point is often one of the most efficient ways to explain a project, particularly when site context and spatial relationships are important. From a single frame, you can communicate key aspects such as […]
For design, development, and manufacturing teams, visual clarity translates into faster decisions and fewer costly revisions. Yet even experienced project leads sometimes use “modeling” and “rendering” interchangeably. They are not the same thing. This guide explains how they relate, where they differ, and how to commission each stage effectively so that concept, planning, and marketing […]